dessert
May 15, 2017
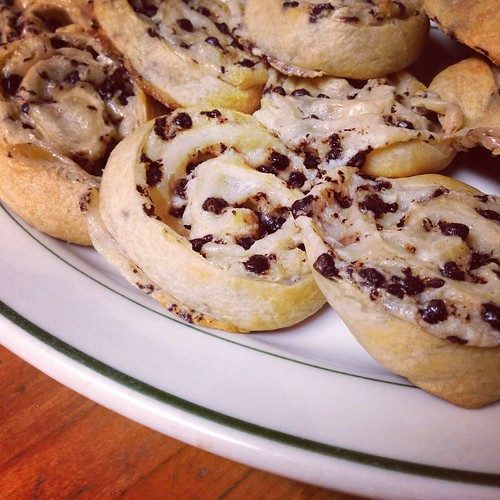
Chocolate Chip Croissant Bread Pudding
You guys. This chocolate chip croissant bread pudding is Ah-May-Zing. Utterly and completely decadent and worth every calorie.
I was looking through my recipes for something to make for Mother's Day dessert when I stumbled upon this recipe from Fake Ginger I'd printed a while back. You probably don't know this about me, but I'm a sucker for a chocolate croissant. I used to get them from my college bakery all the time. I'd ask them to heat it up to slightly melt the chocolate in the middle. What I appreciated the most was that the chocolate actually went from edge to edge, not like some bakeries where there's maybe 1 tablespoon of chocolate inside. This recipe is basically turning my beloved chocolate croissant into a shareable dessert!
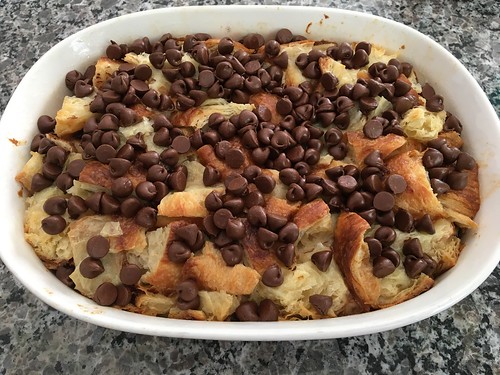
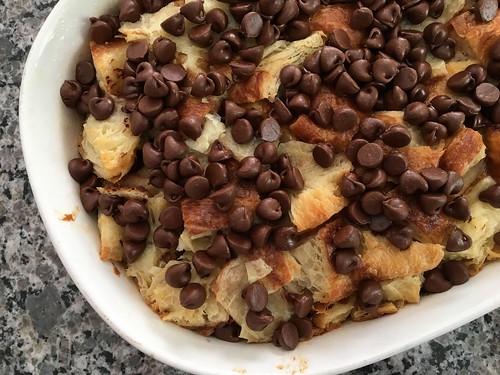
After reading the directions I decided to skip slicing and toasting the croissants. Bite-sized pieces are more traditional for bread pudding and toasting seemed completely unnecessary. The result was fantastic. Some of the bread pudding was ooey and gooey, other bites were crispy. It was the perfect blend of textures. We were all oohing and ahhing as we ate and I'm already dreaming about the leftovers in the fridge.
Chocolate Chip Croissant Bread Pudding
Slightly modified from Fake Ginger
4 tablespoons unsalted butter, melted and cooled slightly
3 large eggs
1 cup milk
1 cup heavy cream
1/4 cup sugar
1 teaspoon vanilla
1/4 teaspoon salt
6 croissants, torn or cut into pieces
1 1/2 cups milk chocolate chips
Preheat oven to 350F. Grease a 2-quart baking dish.
Whisk together the melted butter, eggs, milk, heavy cream, sugar, vanilla, and salt. Place half the croissant pieces in a 2-quart baking dish. Sprinkle about 2/3 of the chocolate chips over them and then top with remaining pieces of croissant.
Pour the egg mixture over top, pressing down gently to make sure most of the croissants are covered. You don't want all the pieces completely submerged.
Cover with foil and bake for 30 minutes. Uncover, sprinkle the remaining chocolate chips on top and bake until golden brown, 15-20 minutes more.
Let sit for 15 minutes before serving.
I was looking through my recipes for something to make for Mother's Day dessert when I stumbled upon this recipe from Fake Ginger I'd printed a while back. You probably don't know this about me, but I'm a sucker for a chocolate croissant. I used to get them from my college bakery all the time. I'd ask them to heat it up to slightly melt the chocolate in the middle. What I appreciated the most was that the chocolate actually went from edge to edge, not like some bakeries where there's maybe 1 tablespoon of chocolate inside. This recipe is basically turning my beloved chocolate croissant into a shareable dessert!
After reading the directions I decided to skip slicing and toasting the croissants. Bite-sized pieces are more traditional for bread pudding and toasting seemed completely unnecessary. The result was fantastic. Some of the bread pudding was ooey and gooey, other bites were crispy. It was the perfect blend of textures. We were all oohing and ahhing as we ate and I'm already dreaming about the leftovers in the fridge.
Chocolate Chip Croissant Bread Pudding
Slightly modified from Fake Ginger
4 tablespoons unsalted butter, melted and cooled slightly
3 large eggs
1 cup milk
1 cup heavy cream
1/4 cup sugar
1 teaspoon vanilla
1/4 teaspoon salt
6 croissants, torn or cut into pieces
1 1/2 cups milk chocolate chips
Preheat oven to 350F. Grease a 2-quart baking dish.
Whisk together the melted butter, eggs, milk, heavy cream, sugar, vanilla, and salt. Place half the croissant pieces in a 2-quart baking dish. Sprinkle about 2/3 of the chocolate chips over them and then top with remaining pieces of croissant.
Pour the egg mixture over top, pressing down gently to make sure most of the croissants are covered. You don't want all the pieces completely submerged.
Cover with foil and bake for 30 minutes. Uncover, sprinkle the remaining chocolate chips on top and bake until golden brown, 15-20 minutes more.
Let sit for 15 minutes before serving.