kid-approved
February 23, 2015
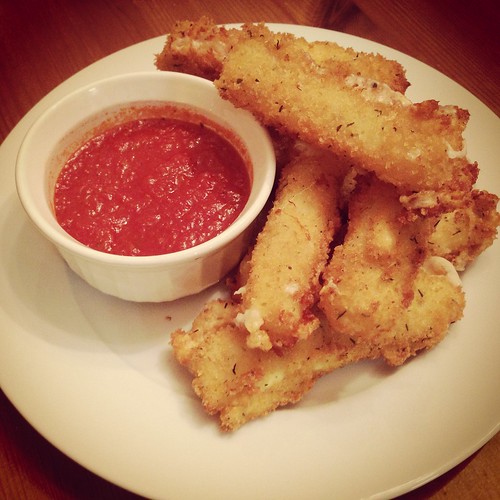
Fried Mozzarella Sticks
Baby Girl loves cheese sticks. She eats them as a snack almost every day after school. Or rather, she used to. One week I noticed the package in the fridge was still mostly full so I checked the expiration date. It was that weekend. Since the Super Bowl was coming up I figured I'd turn them into Fried Mozzarella Sticks and went searching for a recipe.
The key to any mozzarella stick recipe is to freeze the cheese sticks before you bake or fry them. I'm not sure why the recipe I used doesn't say to do that but it's an absolute MUST. The cheese will melt if it's anywhere close to room temperature. Heck, even mine frozen started to melt and ooze as they fried. So do not, under any circumstances, forget that step.
These were delicious, full of melty, gooey cheese. I only made 8 since it was just the three of us. SP and I each had three and Baby Girl devoured two. I'll definitely be making these again the next time we have cheese sticks that need to be used up.
Fried Mozzarella Sticks
Modified from Add a Pinch
24 mozzarella sticks
1 cup buttermilk
1 egg
1 cup flour
3 cups panko
1 tablespoon Italian seasoning
vegetable oil
pizza or marinara sauce, for dipping
The day before you plan to make these, place however many cheese sticks you want to eat into the freeze. Freeze them overnight. Do not skip this step!
The next day, prepare three separate bowls for dredging your mozzarella sticks. Whisk the buttermilk and the egg in one bowl. Put the flour in the second bowl. In the third bowl, combine the panko and the Italian seasoning.
Dip each cheese stick into the buttermilk, then into the flour, then back into the buttermilk and finally into the panko. Set aside on a sheet pan until all the cheese sticks have been coated.
Pour about 1 inch of oil into a 12-inch non-stick skillet. Heat over medium heat until the oil starts to shimmer. Add a few cheese sticks at a time, being careful not to crowd the pan. Use tongs to remove them as they turn golden brown.
Place on a baking sheet lined with paper towels to drain. Serve warm with pizza or marinara sauce for dipping.